Saturday, December 4, 2010

December Class: Christmas Stocking- Sew Simple!


I LOVE this time of year!  Why can't my house look this fun all year round?!  Well with the addition of a new member of my family, one thing was certain this Christmas, I needed another stocking for the mantle.  I didn't realize how simple Christmas stockings are to make.  I took a tutorial I found and we are going to simplify it and di-grandma-fy it a bit :-).

So first off, what do you need to buy? Oo, the fun part, deciding on the fabrics, so many to choose from.  So many different styles and fabric combinations:

I stuck with the traditional red velvet and white "fur" cuff because it goes with my other stockings, but I am so tempted to start from scratch with this beautiful burlap stocking:


SUPPLIES:
  • 5/8 yard of non-directional pattern fabric or 1 yard of directional pattern fabric for main body of stocking and lining
  • 1/3 yard of coordinating fabric for cuff
  • 6" of ribbon or rick rack for holder
  • matching thread
  • basic sewing supplies

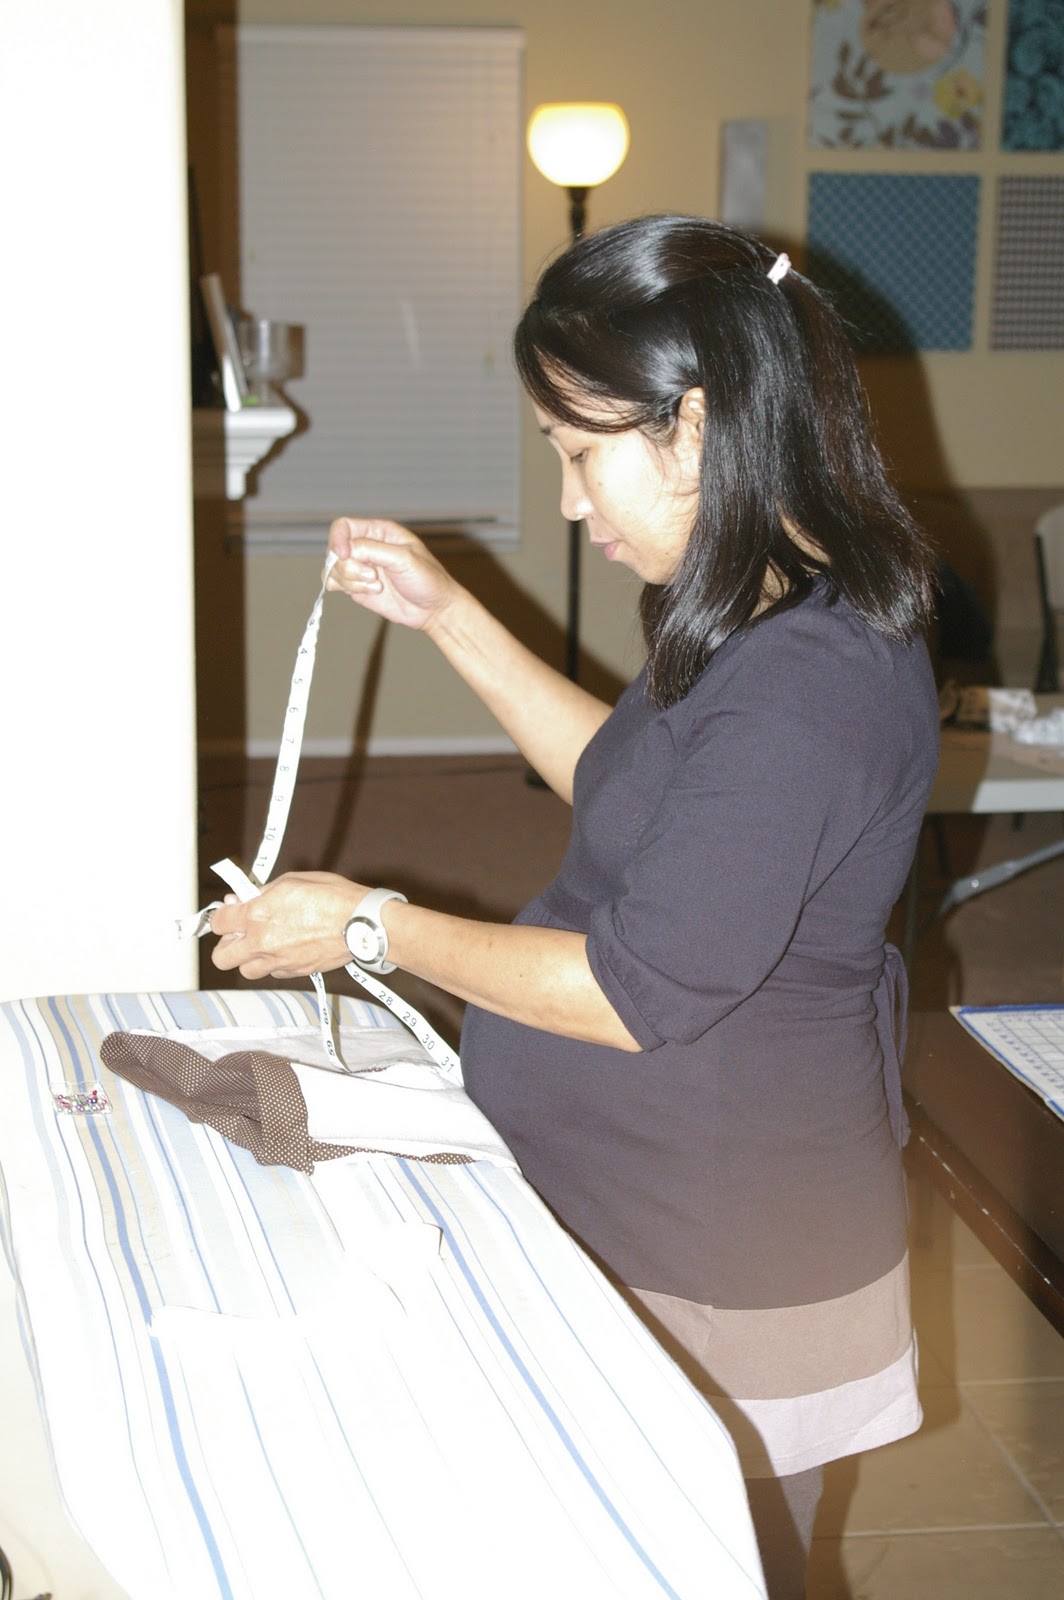
Since this is a quick project (fingers crossed), if you are intimated by cutting out your own pieces, then just bring your fabric and I can help you cut it out in class.  Just remember to pre-wash and iron your fabric before you come.

If you are wanting to cut out on your own, you can find the pattern here to print out.  Remember, we are changing this stocking up from the one shown on AnnTheGran, so don't panic!! :-)  Once on the page, look for "the stocking pattern" listed under "What you need".  Make sure that once printed out that the top of the stocking measures 9".  Mine was only 7 1/2" when printed so I needed to add 3/4" all around my pattern pieces to bring it back to scale.

Please RSVP and let me know if you will be attending this class, THIS WED, DEC. 8th @ 7:30pm @ my house.
Thanks ladies!

Wednesday, December 1, 2010

A Scarf or two to LOVE

Christmas time is here and so is the cold weather....
Lets all bundle up with some fabulous and stylish Scarfs.

The KNIT Scarf

The Gathered Flannel Scarf
Both are very cute and comfy Scarfs
to keep you or your loved ones all warm this winter.


You can go to
this website for the KNIT Scarf~
......and find the full tutorial and how much fabric you'll need.


1.What you will need for the Knit Scarf is....

~Make sure you buy Knit Fabric for this Scarf. And pre-wash it.

*Cut two pieces of knit, 80 x 6.5 inches. A front and back piece.

*Then cut 28 mini strips of knit, 6.5 x 3/4 inches.

You'll be using 7 pieces on each end of your scarf front and back piece.


You can go to this website for the Gathered Flannel Scarf~
......and find the full tutorial and how much fabric you'll need.


2.What you will need for the Gathered Flannel Scarf is....

~Make sure you buy Flannel Fabric for this Scarf. And pre-wash it.

*Cut out two main pieces that were 60 x 8 inches.

(Making a front and back piece to the scarf.)

*Then cut off 4 inches from both ends of the front piece.

*Cut two strips that were 20 x 3 inches.


Ok, now all you need
is to bring your machine and thread
to match your fabric....and all the rest of your knick-knacks....

*Let me know if you have any questions.
Thank you and hope to see you there at our sewing class.
~Heather


Friday, November 12, 2010

At Home Project #3: Anthropologie Inspired Necklace

Well apparently I've created some necklace-making addicts, so what does a good friend do?... feed the addiction:-)  Here is our At Home Project for November.


This is another necklace that I wanted to make in our last class but couldn't squeeze it in.  The main reason I eliminated this one was that this one requires some machine sewing and the others don't.  It is inspired by these two necklaces from my favorite store (that I've never bought anything for myself at), Anthropologie.


You can find the tutorial here on the blog How Joyful.  I can't wait to try it out!  Looks like some more late nights ladies!  Call me to join you:-)

Thursday, November 11, 2010

Smiles and Success! Our November Class


Last night we had a fantastic time playing Santa's little elves creating Christmas gifts in the form of pajamas and necklaces.  The ladies were greeted by this darling Welcome sign drawn by my sweet Owen.  Cheering erupted as some saw their fabric pieces come together to look like pants:-) as well as for others who completed 2 out of our 3 necklaces.  Great job ladies!  

Congratulations to Jennifer who was the winner of our sweet little giveaway.


Tuesday, November 9, 2010

November RSVP Giveaway - Dressing Up Your Tissue

We all can use a little incentive to do things that aren't necessarily our favorite.  So once again we are bribing you with a GIVEAWAY for RSVPing,
whether its a YES (which we would love ) or
a 'no' (so sad)
we'll still enter you into the drawing.

This month our lovely Heather is whipping up this sweet little
TISSUE COVER,

which sadly I can not win, because its at my house, so no RSVP necessary.

But for one of you lucky ladies, you can be styling as you daintily take out a tissue to wipe your needy nose, or quite likely, for a little person.

So please,
EMAIL,
CALL,
COMMENT,
or YELL.

Let us know if you are coming and to which class.

See ya tomorrow (hopefully) !

PJ Pant Updates


Hello everyone...I know you must all be wondering about how to make your PJ Pants.
It's been pretty crazy at my house lately so I apologize for not having all the info you need on here.
But here it is...
~If you want to make PJ pants for children, I have a pattern for the sizes...3-8 and will bring it to the class. For the adults...XS-XL I also have the printable pattern for this, that I will also bring for those who didn't want to deal with the whole printable pattern issue. OK.

What you need for the childrens PJ's are~
Sizes....
3
7/8 yard of Fabric
4
7/8 yd
5
1 yd
6
1 5/8 yd
7
1 5/8 yd
8
1 3/4 yd
(I would always get more fabric just in case.)

*you will need elastic~ 7/8 yard of 3/4" wide elastic

For the Adults PJ Pants you will need~
Sizes... ( for 45" or 60" wide fabric)
XS
2 3/4 yd
Small
2 3/4 yd
Medium
2 3/4 yd
Large
2 7/8 yd
XL
2 7/8 yd

*elastic 1 1/4 yd of 1/2" wide elastic
~Dont forget to prewash your fabric's too.

Bring all your wonderful sewing stuff the you would normally need to the class.
Like...
sewing machine,
pins,
thread,
etc.

Don't forget about our GIVEAWAY....wahooo.
Just RSVP and let me or Briana know which class your going to do.


Thank you and sorry again for the inconveniences.
Looking forward to seeing you tomorrow evening at our sewing class.

~Heather


Wednesday, November 3, 2010

Some Serious Sewing:-) Aprons and Bags

There was some serious sewing going on at our last class, so much so that the noise level had dramatically decreased from last time during some portions of the night.  Maybe its just that we are trying to stretch you as a seamstress and help guide you through more intense projects:-)  We had a great group of 12 this time, with my neighbor Julie joining us for the first time.  Welcome Julie!  We had some empty seats, so come join us next time!  Here are some photos of us busy at work on our aprons and bags:


And can you believe it, Marcie won our Giveaway again.  She is one lucky lady!  Enjoy your darling reusable tote Marcie.

November Class: 3 Necklaces - Perfect for Christmas Gifts

You heard it right folks, 3, count them, 3 necklaces
1


2


3


I think we can do it!!!  You can make 3 Christmas presents by the end of the night (or maybe you'll have to keep them for yourself:-) )  Why 3 you ask?  Well because I just couldn't choose just 1, and 2 of the 3 are really quick.  The last one is easy but a little more time consuming.

So what do you need to bring you ask...

Necklace #1 Asymmetrical Leather Bow Necklace 

Supplies:
  • a strip of leather or faux leather 4"x 1" (I bought an old purse at a thrift store for $.50 to cut)
    • make sure it is thin and flexible
  • a strip of leather or faux leather 2"x .5 " (that's .5 as in a half inch)
  • jewelry chain - you can buy jewelry chain, a cheap necklace, or just reuse one you already have
  • a clasp - if you are buying new jewelry chain
  • 2 small and 2 large jump rings (the tutorial creator used 1cm and .5cm jump rings that she found packaged together at Jo Ann Fabrics but I don't think the exact size really matters)
    • read package carefully to make sure they are jump rings.  i bought the wrong kind and was about to chuck the necklace out the window mid-project :)
  • jewelry pliers (you can find inexpensive sets at most craft stores - hers were $10 for five pliers of different styles, and she used a 50% off coupon) or needle-nose pliers & wire cutters together will probably work
  • hot glue gun (not everyone will need to bring one, but if you can bring one, please let me know so I'll know how many we will have)
  • a large-ish needle
Necklace #2 Lace Necklace

Supplies:

  • gold necklace chain - jewelry chain, cheap necklace, or reuse one you already have
  • a clasp - if buying new jewelry chain
  • 9" piece of lace - vintage lace would be so pretty if you have some ( I ended up trimming my lace to 6" once I held it up to my neck- feel free to do the same to whatever size you want)
    • I have some if you'd just like to use mine
  • gold thread
    • I will provide unless you'd like to bring your own
  • hand-sewing needle
  • I will be providing the metallic gold spray paint, but you are welcome to buy your own to do another necklace at home

Necklace #3 Ribbon and Pearls

Supplies:
  • 2 1/2 yards of approx. 7/8" or 1" ribbon (I choose grosgrain)
  • package of pearls or beads (I bought a package of 240 piece 10mm pearls and have made 2 necklaces with maybe enough for a 3rd)
  • thread to match ribbon - (a thicker thread will be most easy to use)
  • hand sewing needle
  • binder clips (optional) makes it a little easier to sew

So take a little break from your machine and get to know your hand-sewing needles better.  We will definitely need some extra desk lamps as we will be making small stitches and working with little pieces.     Head lamps would be awesome for this:-)

As always, please RSVP and let us know which class you will be attending.  Thanks again!


November Class: Pajama Pants


Nothing says Christmas by the fire, then comfy pajama pants.

For the complete printable pattern pieces and instructions see the following link:
Easy PJ Pants by Simplicity
**Make sure to download all three listed links on the site to figure out size, fabric recommendations, all the needed supplies, etc

Questions???... Feel free to contact Heather

Thursday, October 14, 2010

Additional Apron Class

Hello ladies,
Last night was fun, although we had our "troubles"with the bias tape. Just wanted to let you know about the class that will be at my house (Heather) next week. It will be on Thursday 24th at 7:30 pm, so bring your gear and get ready to sew.

*If you wanted to change your bias tape for the thicker kind then get 3 packages. And you should be set.

*Don't worry, we will get it right. And your Aprons will be fantastic!
See you next week.
~Heather

Tuesday, October 12, 2010

Aprons, Patterns, and JoAnn's

Ok ladies I had posted about the apron, that you need about 1 yard of fabric. Please get a little more, JoAnn's is now and has been putting labels across there fabric. So by them dong that it cuts off room for the patterns to fit properly on the fabrics.

Please, it is better to get more fabric than to get less. If you have already purchased your fabric, then I can help you make adjustments. Sorry for this inconvenience.

All you need is to purchase a little more.....like 1/8 or 1/4 of a yard more. Ok
I am sorry again. But don't worry your apron will look fabulous!
~Heather

Did I mention our RSVP Giveaway?

Forgive me, I failed to mention our RSVP Giveaway for this month.  It is a darling birdie reusable tote from Joanns.  The birds are chirping, "Craft, Create, and Conserve".  How eco savvy!  I'm loving all the cute designs stores are coming out with for their reusable shopping bags.

So here's what you need to do:
  • RSVP to us via email, comment on the blog, phone call, or Michelle & I's favorite way- a yell across the neighborhood.  Any old way will do.  Our RSVP thing on our blog has disappeared, and I was loving it so much.   Even if its to tell us you aren't coming, we'll still enter you in the drawing.  Make sure to mention WHICH CLASS you will be doing.
  • If you are new to our group or haven't fill out our SURVEY yet, please do so and you can enter a second time.  The survey can be found here.
  • If you haven't signed up to 'FOLLOW' our site yet, sign up and you can enter an additional time.  Just look for the 'Follow' button in the left hand column.

We look forward to seeing you on Wednesday!  If you can help us out by bringing any of the 'Needed Items' listed in the left hand column, that would be awesome.  Thanks ladies!


Sunday, October 10, 2010

Cooking up Aprons!

An Apron for me and for you.
Here is what we are going to be making, this cute and stylish apron.
I have all sizes to pick from.

Here is all what you need:
Fabric:
~Your fabric should be 100% Cotton or a Cotton blend.
~You need 2 contrasting colors of fabric.
~DONT FORGET!! Prewash your fabric!

For the Apron~
Size Small (10-12)~ 45" or 60" you need 1 and 1/4 or 1/2 yard of fabric.

Size Medium (14-16)~ 45" you need 1 1/4 yards of fabric. (plus a little more)
60" you need 1 yard of fabric. (plus a little more)

Size Large (18-20)~ 45" you need 1 3/8 yards of fabric. (plus a little more)
60" you need 1 yard of fabric. (plus a little more)

For the Contrast pocket and neck band~
you need 1/2 yard of 45" or 60" of fabric.

Notions~
Thread
Two packages of 1/4" wide double fold bias tape
One package of medium Rickrack


Supplies are:
Sewing machines
Thread
Scissors
Seam ripper ( just in case)
Measuring tape
Fabric
Strait Pins
Iron
Ironing board

Ok, so now you know what to get and bring. "I will be providing your pattern so that you can learn to cut it out with help." Its not hard and will go very fast. This Apron is too cute for words and will be a BIG hit when you wear it or give it away as a gift.
I enjoy working with you and helping you all learn.

*Also, if you noticed in my picture of the Apron, there is two aprons. One for mom and daughter . If you are interested in doing "both"......Please let me know before our class this wednesday. And I will get you what you need for the "daughter apron". Ok!

*Please let me know if you are confused in any way, I will be happy to explain it to you and help you out. See you all at this weeks class.
~Like "Briana" said let us know what class you will be attending.
Thank you!
~Heather and Briana

Saturday, October 9, 2010

Its All in the Bag...


 Its finally here...  The supply list and prep instructions for the shoulder bag.  Thank you for your patience:-)  We are up and running.  We will definitely be having class as planned.  You can choose to either make this REVERSIBLE BAG or an APRON (Heather will be posting this soon).  
This Wednesday night, Oct. 13, 7:30 pm, my house.  


The RSVP thing on the blog has mysteriously disappeared so please comment or email me if you will be coming.  Thanks!


REVERSIBLE SHOULDER BAG


We will be following the pattern and instructions for this fun, basic bag from the site Very Purple Person

Fabric needs:
2 different cotton fabrics - Each
1 1/3 yd for 44/45" width                                        
2/3 yd for 60" width

Apparel or quilting cotton will work fine, but home decor or thicker cotton fabric will hold up better

Supplies:
Thread to match each fabric {You can also choose to have an accent thread instead that will stand out on the fabric as I did}
Lots and lots of straight pins
Iron (mini iron would be awesome for this)
Ironing board
Embellishments (optional) - flowers, beads, ruffles, ribbon, buckles, bows, etc.
Basic supplies - see list here

If you need a little review on fabric preparation or cutting please visit this previous post here.  Remember to come with your pieces cut out and marked.  


So where do you get your pattern pieces you ask!  Simply download them here and print them out on your very own printer.  Nifty, huh?

This was the first time I had done this too.  The first page of the pattern shows how the pieces fit together and gives you a test square of 4" x 4".  This test square will allow you to know if your pattern pieces are in proper scale.  My printer printed out the test square at 3 7/8" x 3 7/8" so I added an 1/8" when I cut out my pieces.
Pattern notes**
**Cut 2 of each fabric on fold (read tip here)
**Cut on the outside line, the pattern is just showing you the seam allowance
**Watch for directional patterns when choosing which direction to pin your pattern piece
**Make sure to mark your darts on both sides of fabric pieces (see video below)


**If you wish to add a non-bulky embellishment to your purse, you can choose to do it first before sewing like I did here with my ruffles.  Take into account that you will be sewing a dart in each corner and you will be turning the purse inside out through the width of a strap so nothing too bulky.  You can also choose to add embellishments after the purse is completed.  I can show you how in class.

I'm sleepy, so if I confused you or left something out, please feel free to ask me questions or tell me 'you don't get it'.

You CAN make this bag!  It will take sewing endurance, but its not too hard for you, just more steps than last time.  DON'T BE INTIMIDATED. You want to expand your sewing horizons, don't you?  You don't want to be making pillow covers or pillowcases forever, do you?!  You CAN do this.

Oh and please RSVP and tell us what class you will be doing.

Sunday, September 19, 2010

Your Capacity to Create

I came across this inspiring short video of Pres. Uchtdorf's address on our capacity to create. Thought I would share it on our blog for some great motivation. Read some of the script from this address on the very bottom of the left column. Enjoy!

The Fruits of Your Labor

We are pleased to display the fruits of you labor!!  Please send us photos of your completed projects for us to display.  As mentioned before, "Be proud of your finished projects!!  We share in your joy and give you a virtual pat on the back for a job well done {even if you don't think so:-)}"  We hope to start a Flickr group where each of you can download your photos into one pool of photos, but for now, lets post them here.


created by Vanessa

Friday, September 17, 2010

The Sweet Smell of Success!!!


We did it!!!  We tackled our first projects.  Most of us left that night proudly carying either a pillowcase or a pillow cover.  And I've heard from a few others that completed them on their own since leaving the class.  Great work ladies.  We had such a great time on Wednesday, filling up my home with 17 industrious women.  We could have even squeezed a few more in:-)  There were laughs.  There were screams.  There were even a few women close to chucking their machines out the window.  Thankfully no tears.  Mistakes were creatively salvaged.  Overall, Success!!!  Thank you to all for coming and helping to bring our needed supplies.  Here are a few photos of us knee deep in the sewing trenches.


Remember to send us photos of your finished projects gracing their new homes:-)  We are working on setting up a Flickr group so that you can upload them for everyone to see.  Be proud of your finished projects!!  We share in your joy and give you a virtual pat on the back for a job well done {even if you don't think so:-) }

Congratulations to Vanessa for being our winner of our RSVP Giveaway.  She is now a new owner of a functionally chic pink measuring tape:-)  Thanks to all those who RSVPed, even those that couldn't come.  We don't want to discourage anyone from coming, even if its a last minute decision without a RSVP.  Just come!, but RSVPing does help us tremendously in preparing for the class.

Keep your enthusiasm for sewing going by trying out one of our At Home Projects or get inspiration from any of the amazing inspirational sites listed in the sidebar that are full of tutorials and photos.  Get together with others, chat on the blog, ask us questions! {You can find them most easily by looking in the left column under the 'Labels' section and clicking on 'At Home Projects'}

We love to hear what you thought about the class and any feedback you have to give.  Thanks for your patience as we form our group and get the ball rolling.  We look forward to next month's class in which you can choose to make an apron or a shoulder bag.  Details to come soon!!!  Happy Sewing.

Heather and Briana